Gluing the ceiling plinth
Ceiling plinth made of extruded polystyrene is used for interior decoration of residential and office premises; it goes well with wallpaper, painting, and adhesive ceiling tiles. The use of ceiling plinth qualitatively improves the image of the ceiling, gives it a finished look, and also allows you to hide various defects, such as gaps between the ceiling and the wall, and remove various irregularities.
The ceiling plinth is glued BEFORE wallpapering or painting the walls and ceiling. Firstly, while gluing the baguette you can ruin the wallpaper (or painting), and secondly, if you want to replace the wallpaper, you will have to change it along with the frieze. So it is necessary to glue the ceiling border before finishing, after puttying and priming the walls and ceiling.
The ceiling plinth can simply be glued to liquid nails. Ceiling plinth made of polystyrene foam adheres well to styrofoam glue. The ceiling plinth can be glued very well with acrylic or silicone or acrylic sealant. Silicone sealant is only suitable if you will not paint the ceiling plinth later - most paints do not stick to silicone. Dragon glue is also popular for gluing frieze. It should be remembered that when using sealants and adhesives, the surface must be clean and free of dust, grease, etc.
In general, many builders prefer to glue friezes onto putty. The required amount of finishing putty of the required consistency is mixed. The putty is applied to the surface of the frieze with a spatula. Then the baseboard is pressed against the ceiling and wall, and excess putty is removed with a damp sponge. The advantage of this method is that putty is much cheaper than glue, besides, after gluing with putty, you can fill the joints between the baseboards; all types of paints fit perfectly on the putty.
The corners are cut as follows: attach the plinth to the ceiling, draw lines with a pencil at the top and bottom, then to the other wall in the same way. Using a stationery cutter, make a cut from one intersection of lines to another, the same with the second plinth, approximately in the same plane. Place both plinths against the wall; if there is a gap, trim the plinth so that the cut is in the same plane as the other. If the walls and ceiling are relatively perpendicular to each other, then you can use a miter box, this will greatly simplify cutting corners.
After gluing the frieze, you can start painting. If you plan to paint the ceiling and the frieze with different paints, then the frieze is painted using a spatula (you can use any other plane of a suitable size)
- ←Previous news Secrets of the Carpet for those who are not in the know
- Next news→ Which slope to make and how to save
 Photo wallpaper
 Liquid wallpaper
 Photo curtains
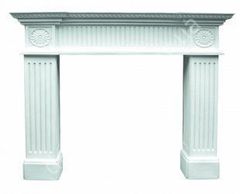 Decorative fireplace Harmony FP1103
 Polyurethane skirting Orac Decor SX137 Flexi
 Children's
 Ulf Moritz inserts and elements
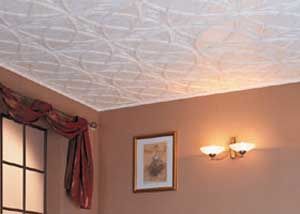 Ceiling decor
 Window sill Danke
 Decorative beams
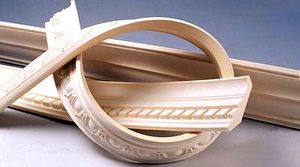 Moldings
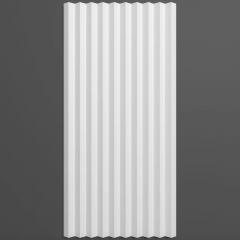
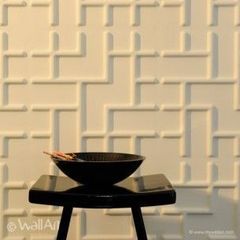 3D WallArt Tetris panel
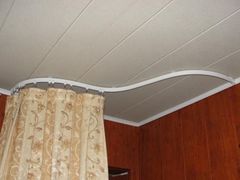 Cornice flexible profile
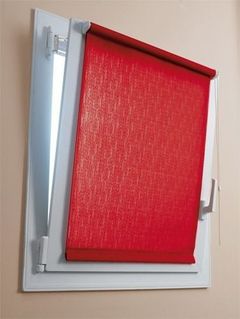 Primehouse ready-made roller blinds
 Isoplaat underlay quiet running 5 mm